- RelatveLayout을 사용해서 안드로이드 화면 배치를 해보자.
-xml 소스
<?xml version="1.0" encoding="utf-8"?>
<RelativeLayout xmlns:android="http://schemas.android.com/apk/res/android"
android:layout_width="fill_parent"
android:layout_height="fill_parent"
android:orientation="vertical" >
<Button
android:id="@+id/button1"
android:layout_width="wrap_content"
android:layout_height="wrap_content"
android:text="위쪽 버튼" />
<Button
android:id="@+id/button2"
android:layout_width="wrap_content"
android:layout_height="wrap_content"
android:layout_below="@+id/button1"
android:text="아래쪽 버튼" >
</Button>
<TextView
android:layout_width="wrap_content"
android:layout_height="wrap_content"
android:layout_toRightOf="@+id/button1"
android:text="중간 텍스트뷰" />
<TextView
android:id="@+id/textview2"
android:layout_width="wrap_content"
android:layout_height="wrap_content"
android:layout_below="@+id/button2"
android:text="Type here: " />
<EditText
android:id="@+id/edittext1"
android:layout_width="fill_parent"
android:layout_height="wrap_content"
android:layout_below="@+id/textview2" />
</RelativeLayout>
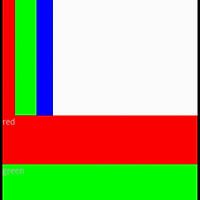
-실행화면

'JAVA > Android' 카테고리의 다른 글
| 안드로이드 CustomTab 예제 따라하기 (3) | 2012.01.03 |
|---|---|
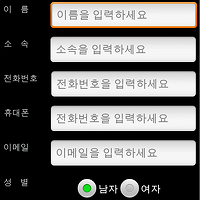
| 안드로이드 전화번호부 연락처 추가 만들기 예제 (3) | 2012.01.02 |
| 안드로이드 RadioGroup 예제 따라하기 (0) | 2011.12.29 |
| 안드로이드 LinearLayout 예제 따라하기 (0) | 2011.12.26 |
| 안드로이드 ImageView 예제 따라하기 (0) | 2011.12.23 |